We are surrounded by an invisible world made up of microbes. This world, called the microbiome, influences our lives in ways that scientists are only just beginning to understand, but what is clear is that only 10% of the cells in your body are human. The other 90% are made up of microbes. Every time you touch something, you are interacting with this microbial world, interchanging microbes that influence your health and the very makeup of your body.
Bio City is a conceptual art piece that asks the question: do you know what lies beneath the surface of your world? The project attempts to prompt the viewers to rethink the way we design our world. Can we redesign the built environment with the microbial world in mind? If humans understood this microbial interaction, how would that change our behavior?
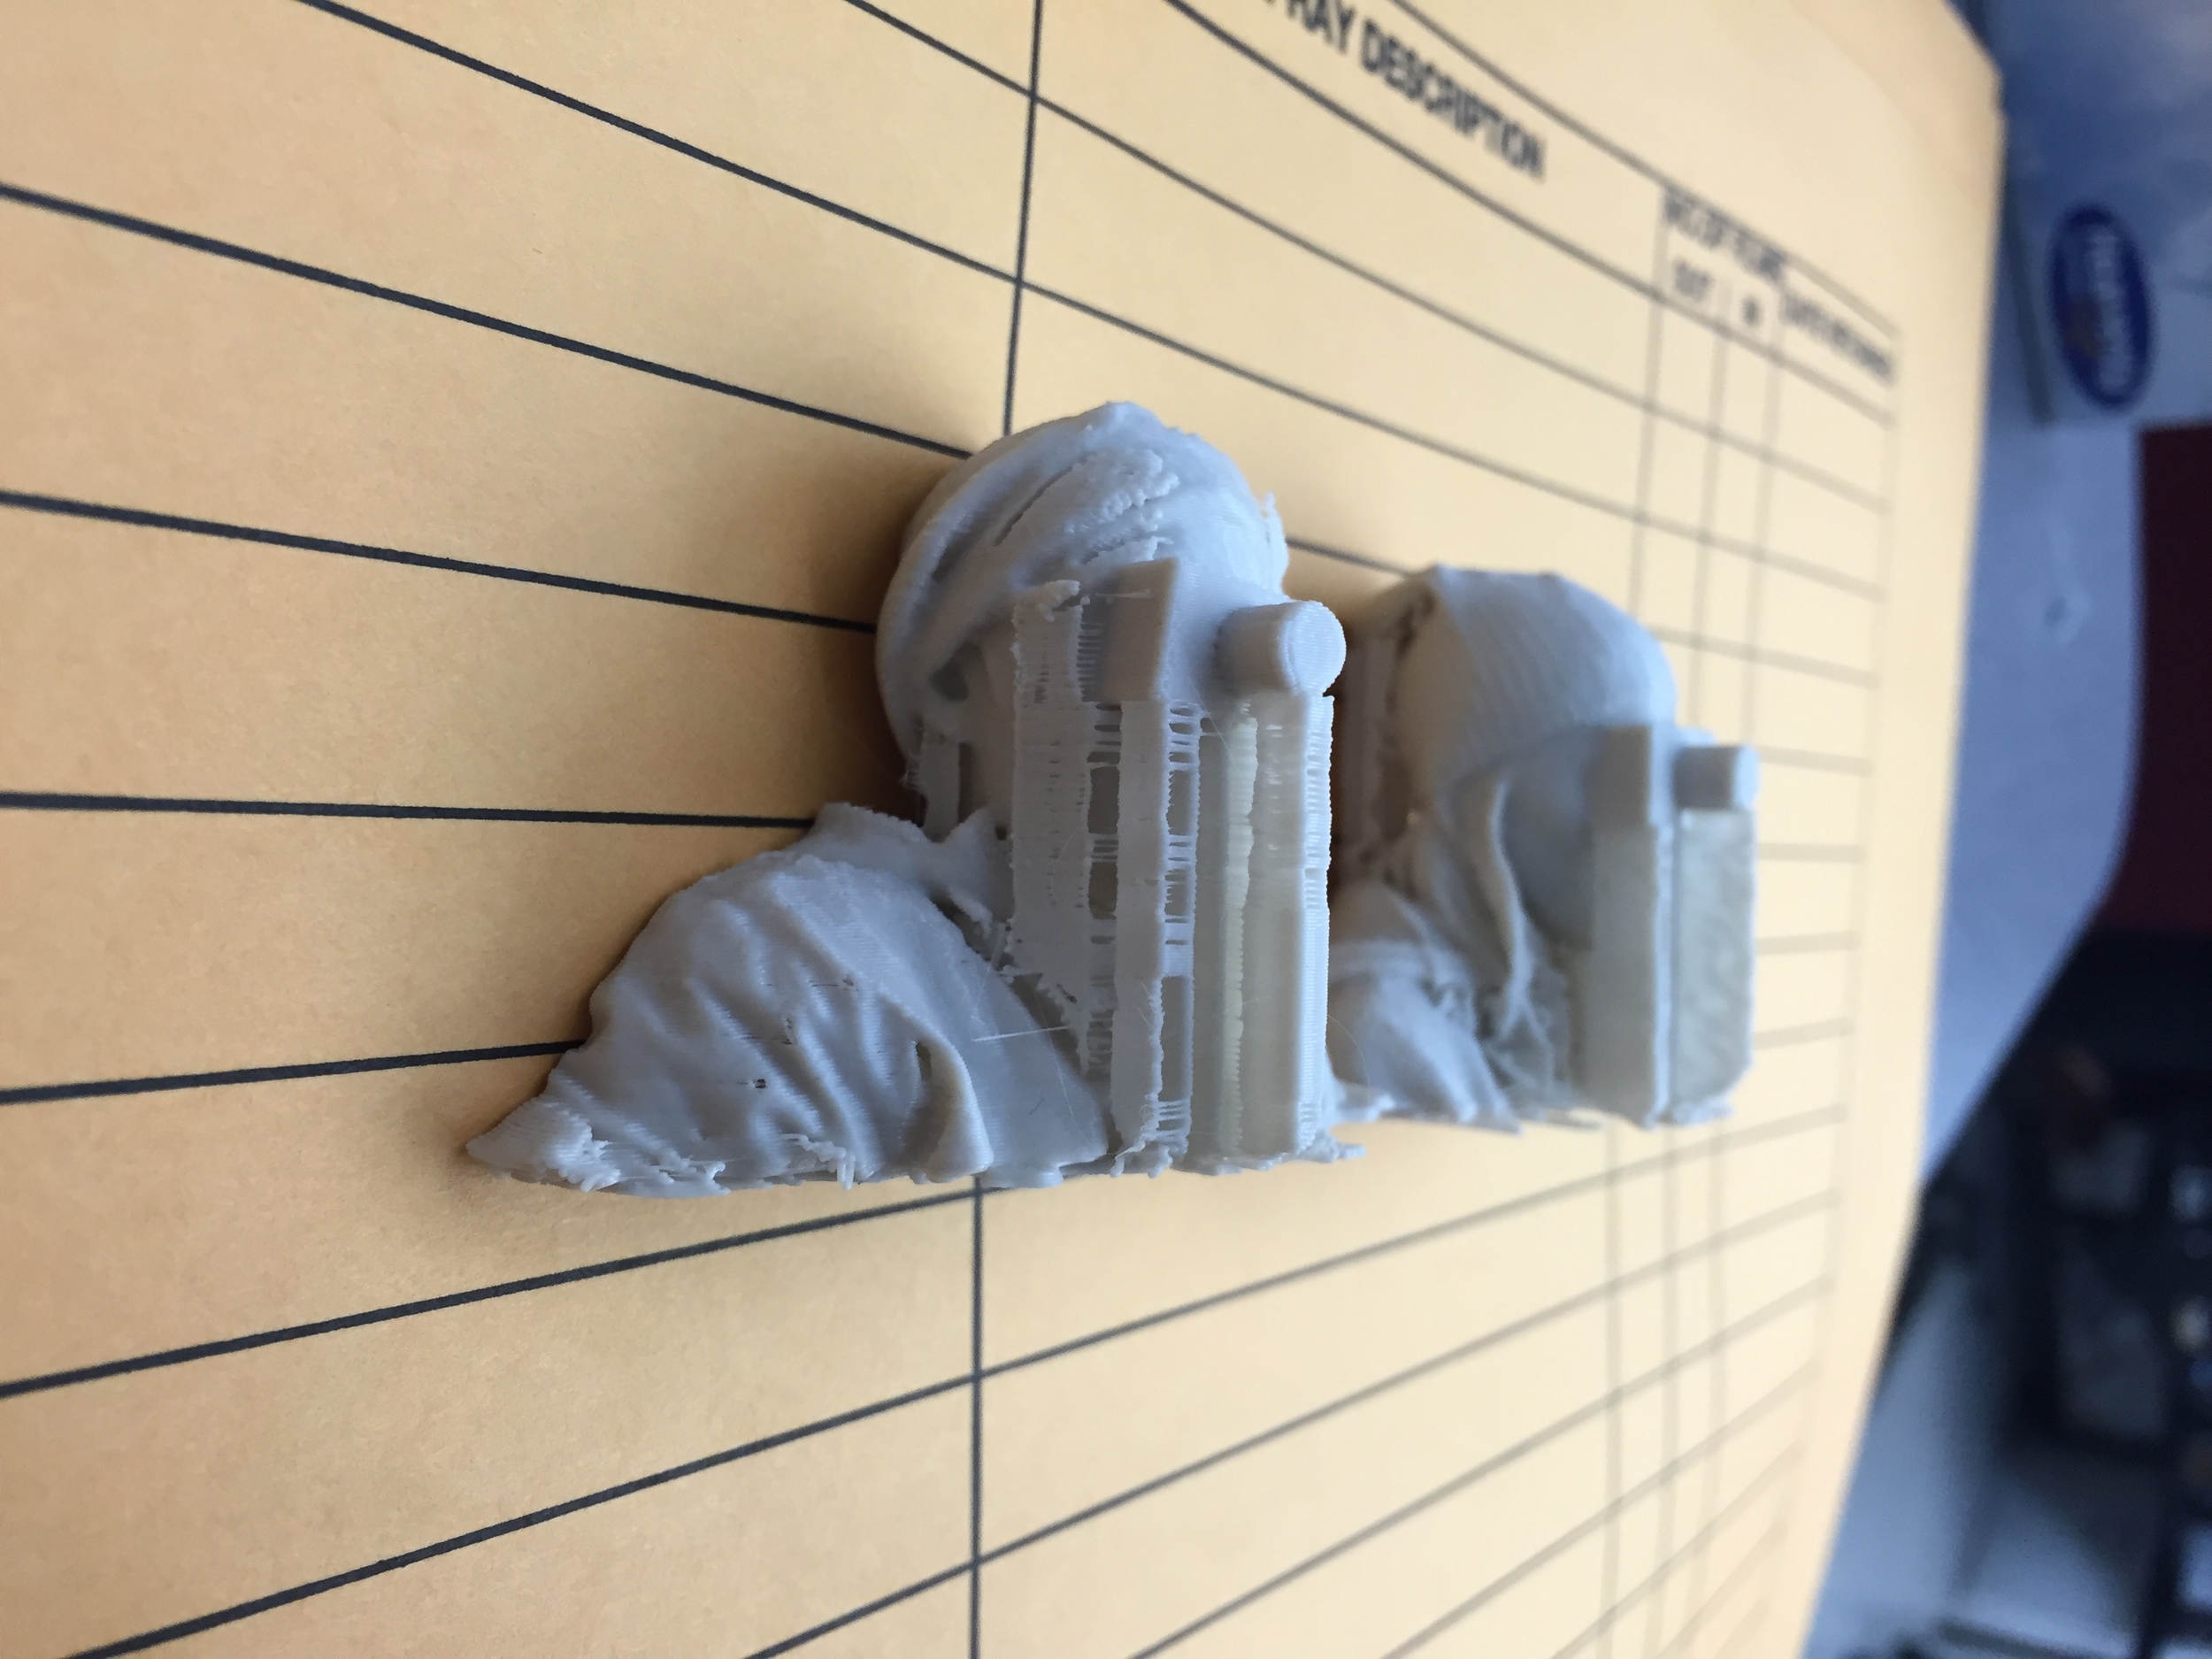
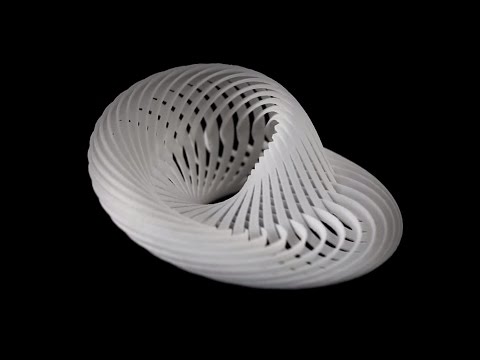
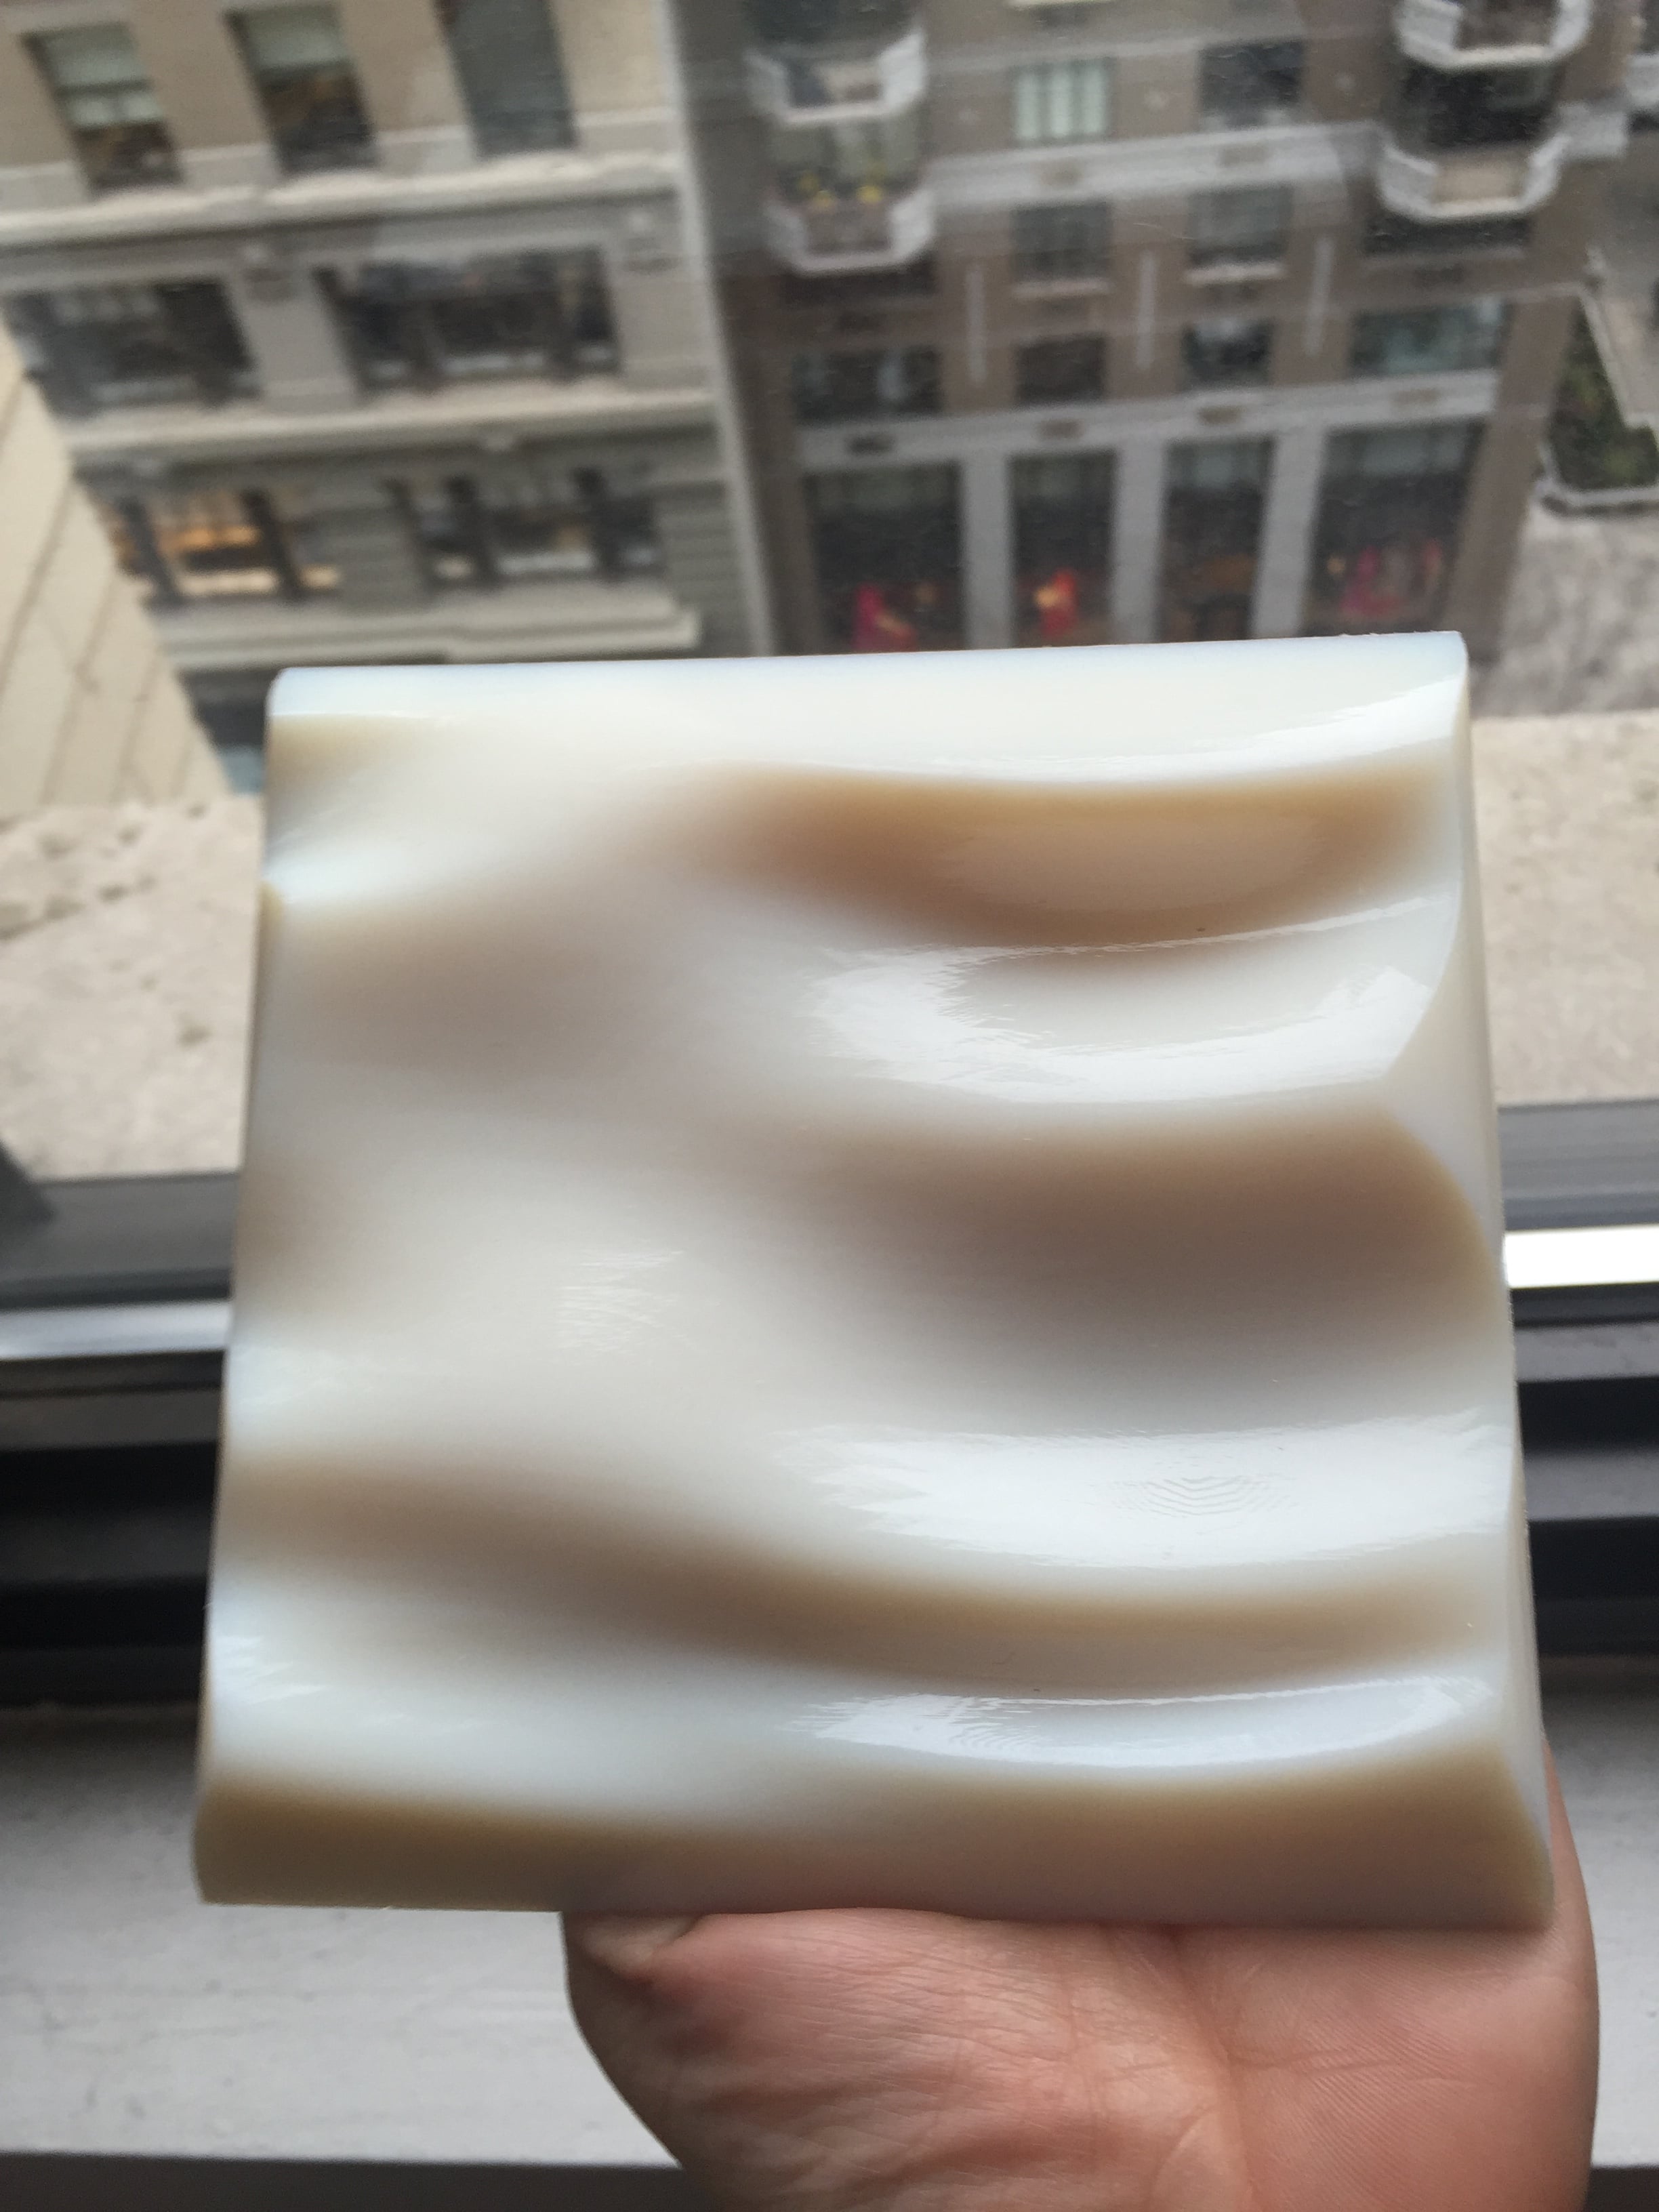
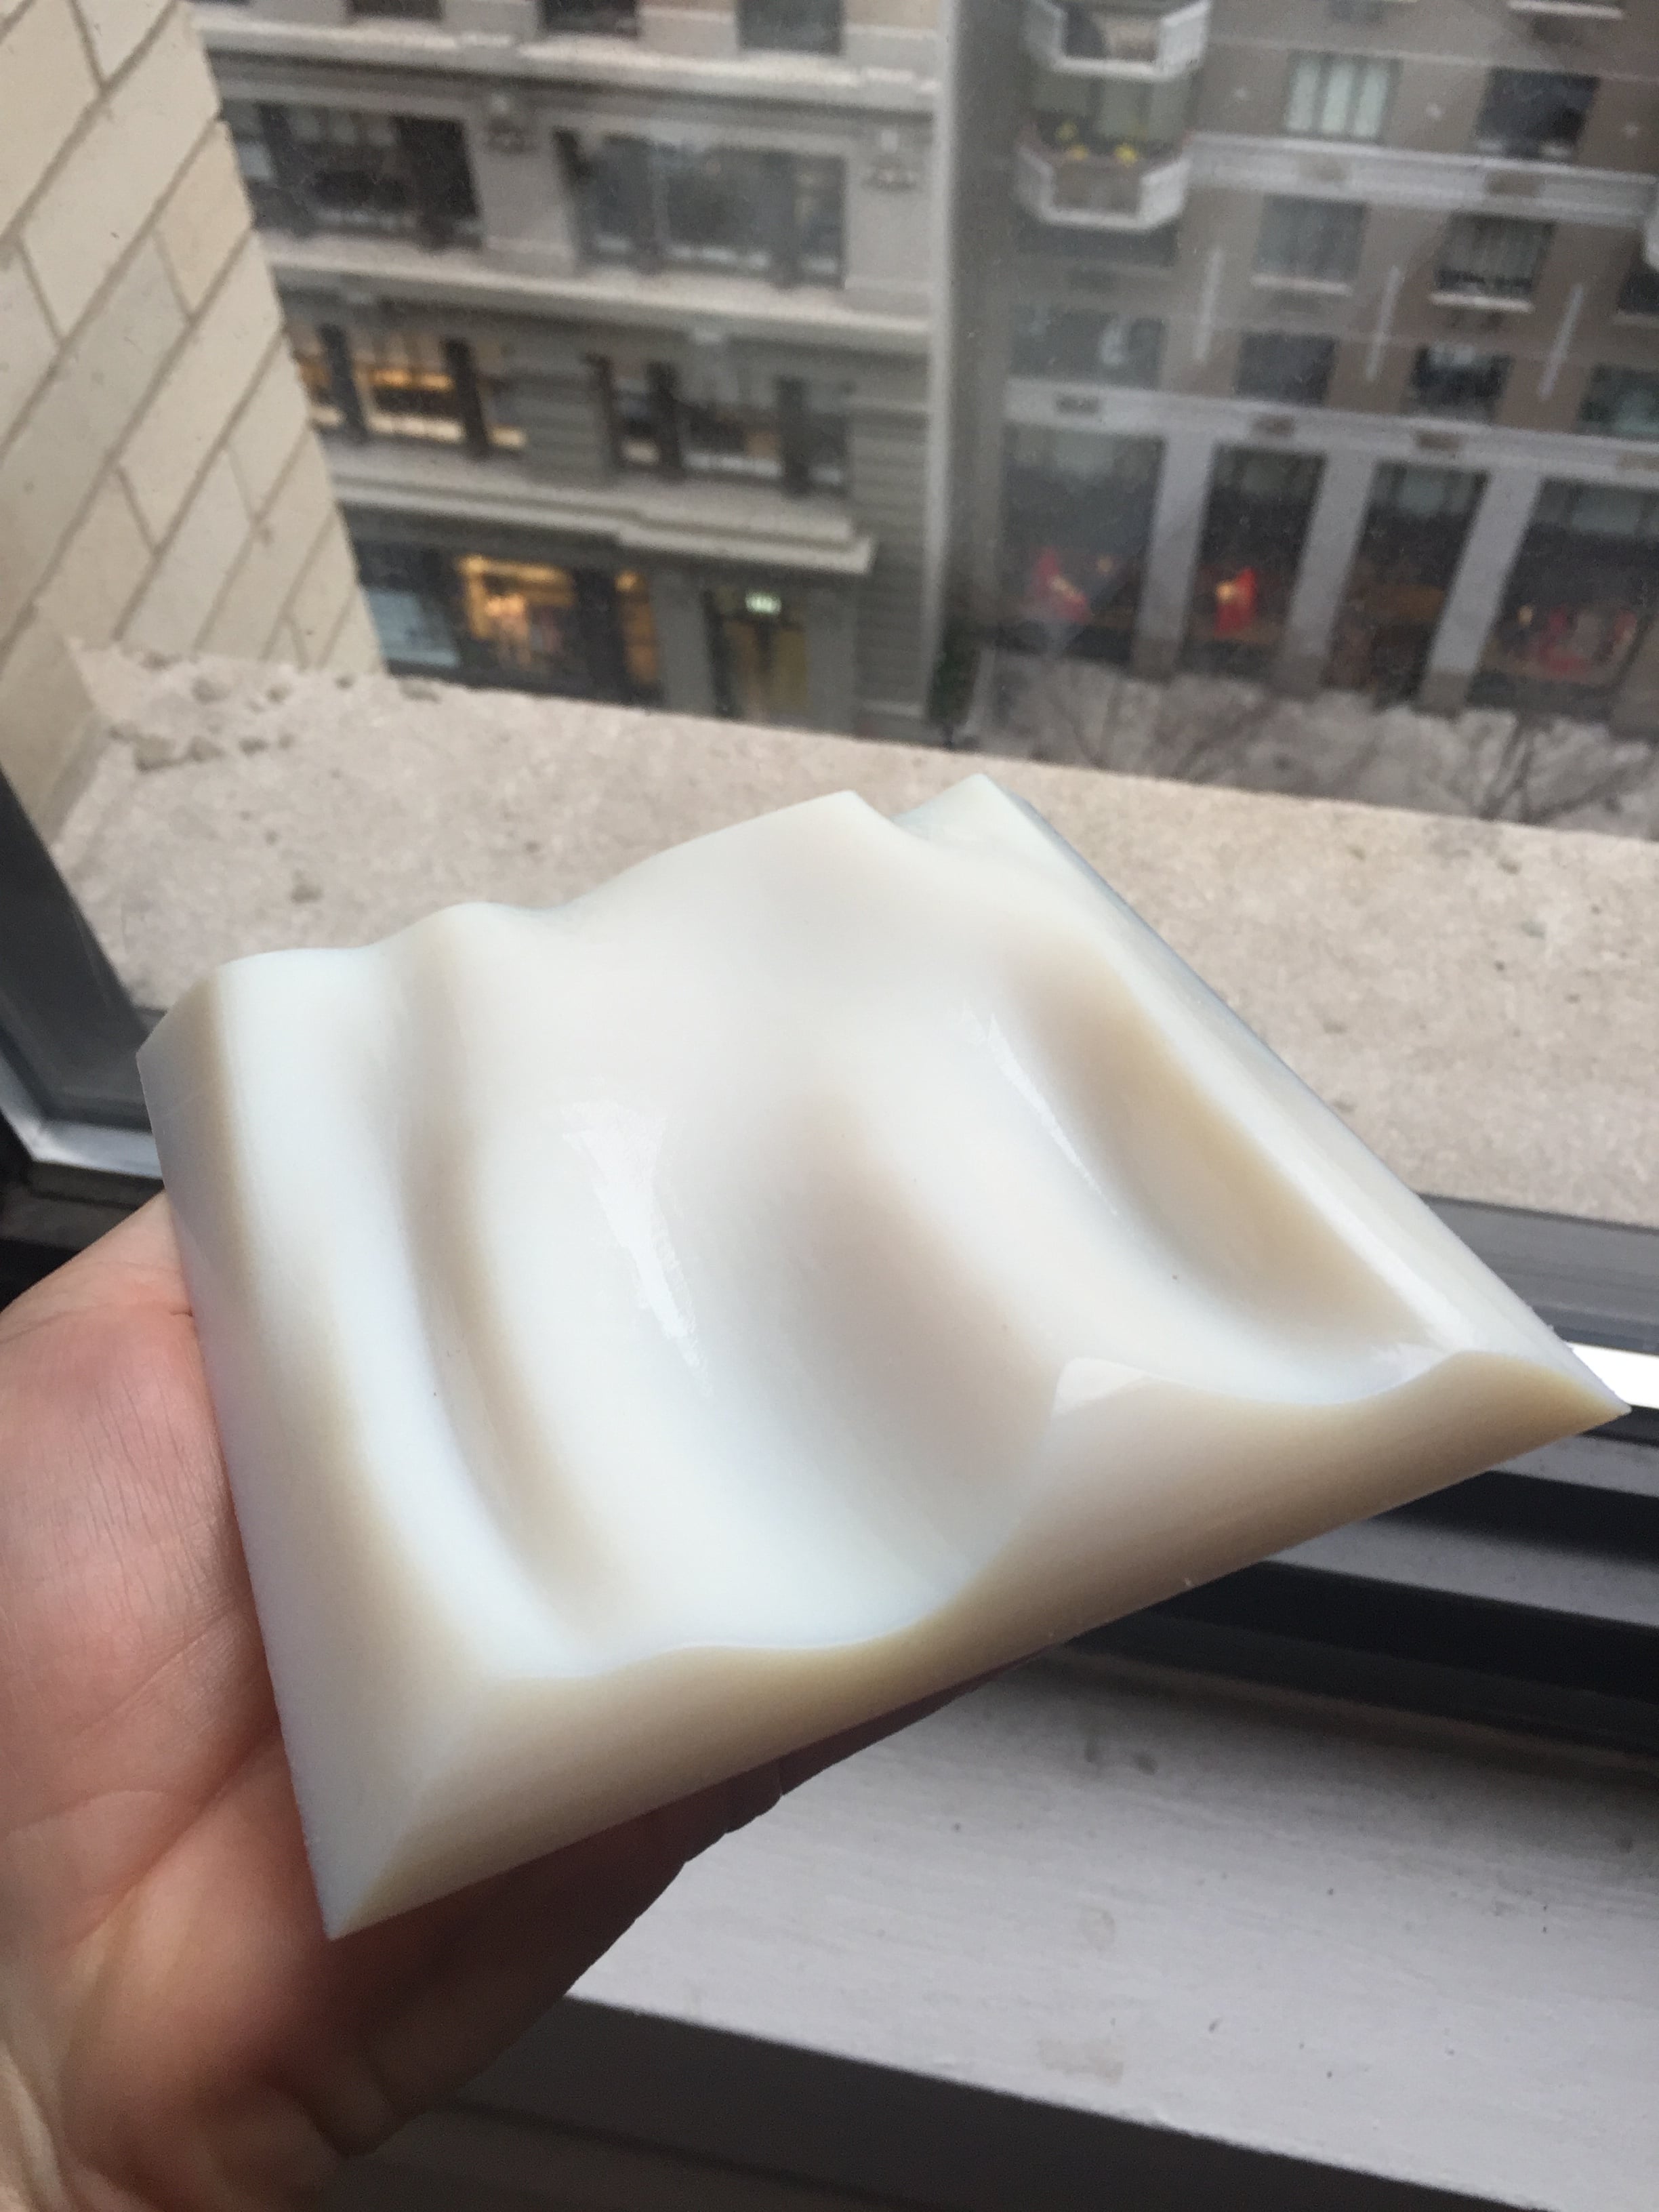
Bio City is constructed using modular wall panels, thus each time the piece is hung it takes one a new form, which is illustrative of the fact that each environment has an entirely different microbial world living beneath it. The terrain-like structure on the faces of the panels show the viewer that there is a world beneath the surface. Like mountains that protrude from the walls, the panels reveal that there is more to the built environment than meets the eye.
Bio City invites viewers to reimagine their built environments and to think about the hidden world that lie inside of and around every surface they touch. What lies beneath?
Site Location:
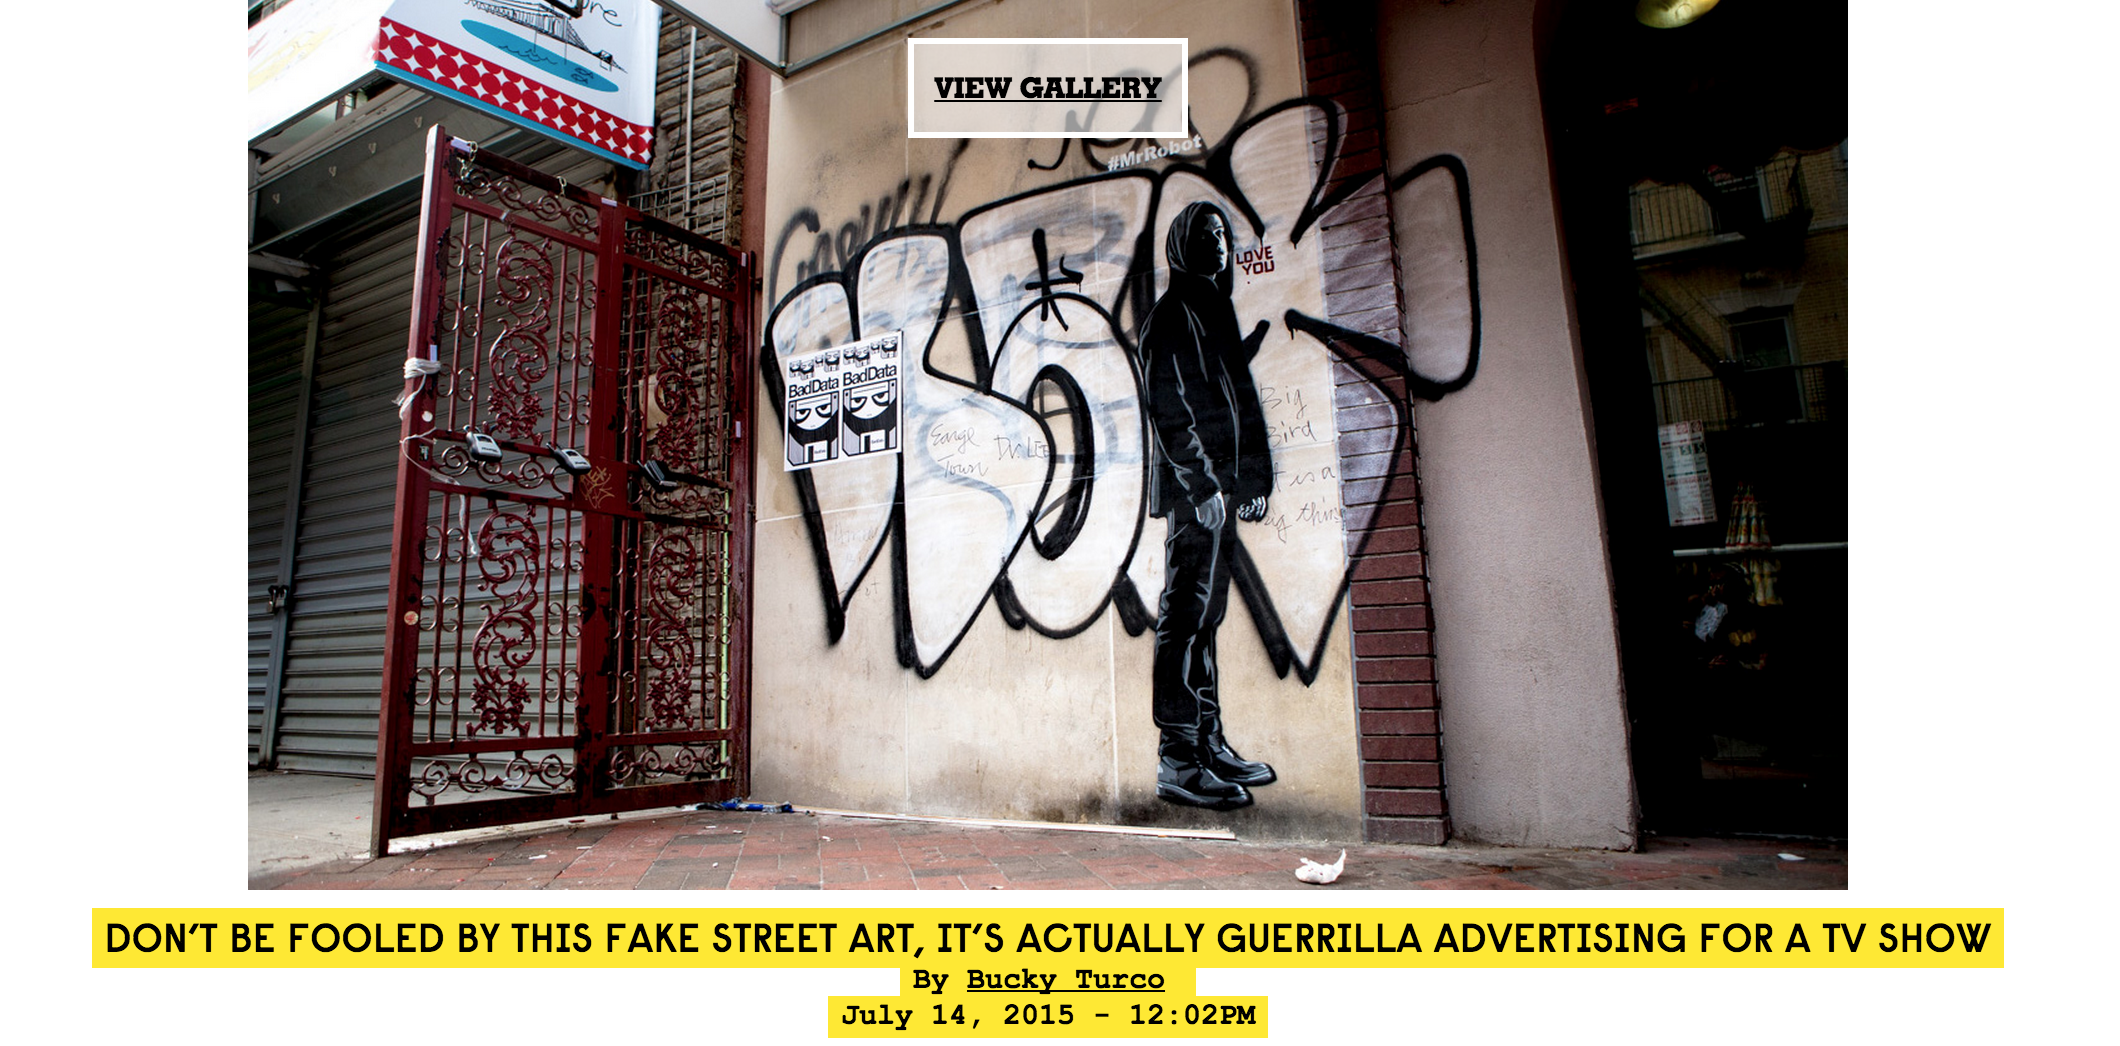
My key conceptual precedent for my project is Patho Map – a research endeavor from Cornell Medical College that took metagenomic samples from NYC subway stations to determine the microbial quality of each stop. The project sought to understand and qualify the metagenome of the built environment of NYC. Thus, I choose my installation site to be the NYC Subway stop at Union Square. I think this location adds to the concept of my project. It further challenges the viewer to ask: what is the specific metagenomic quality of this subway stop?
Process:
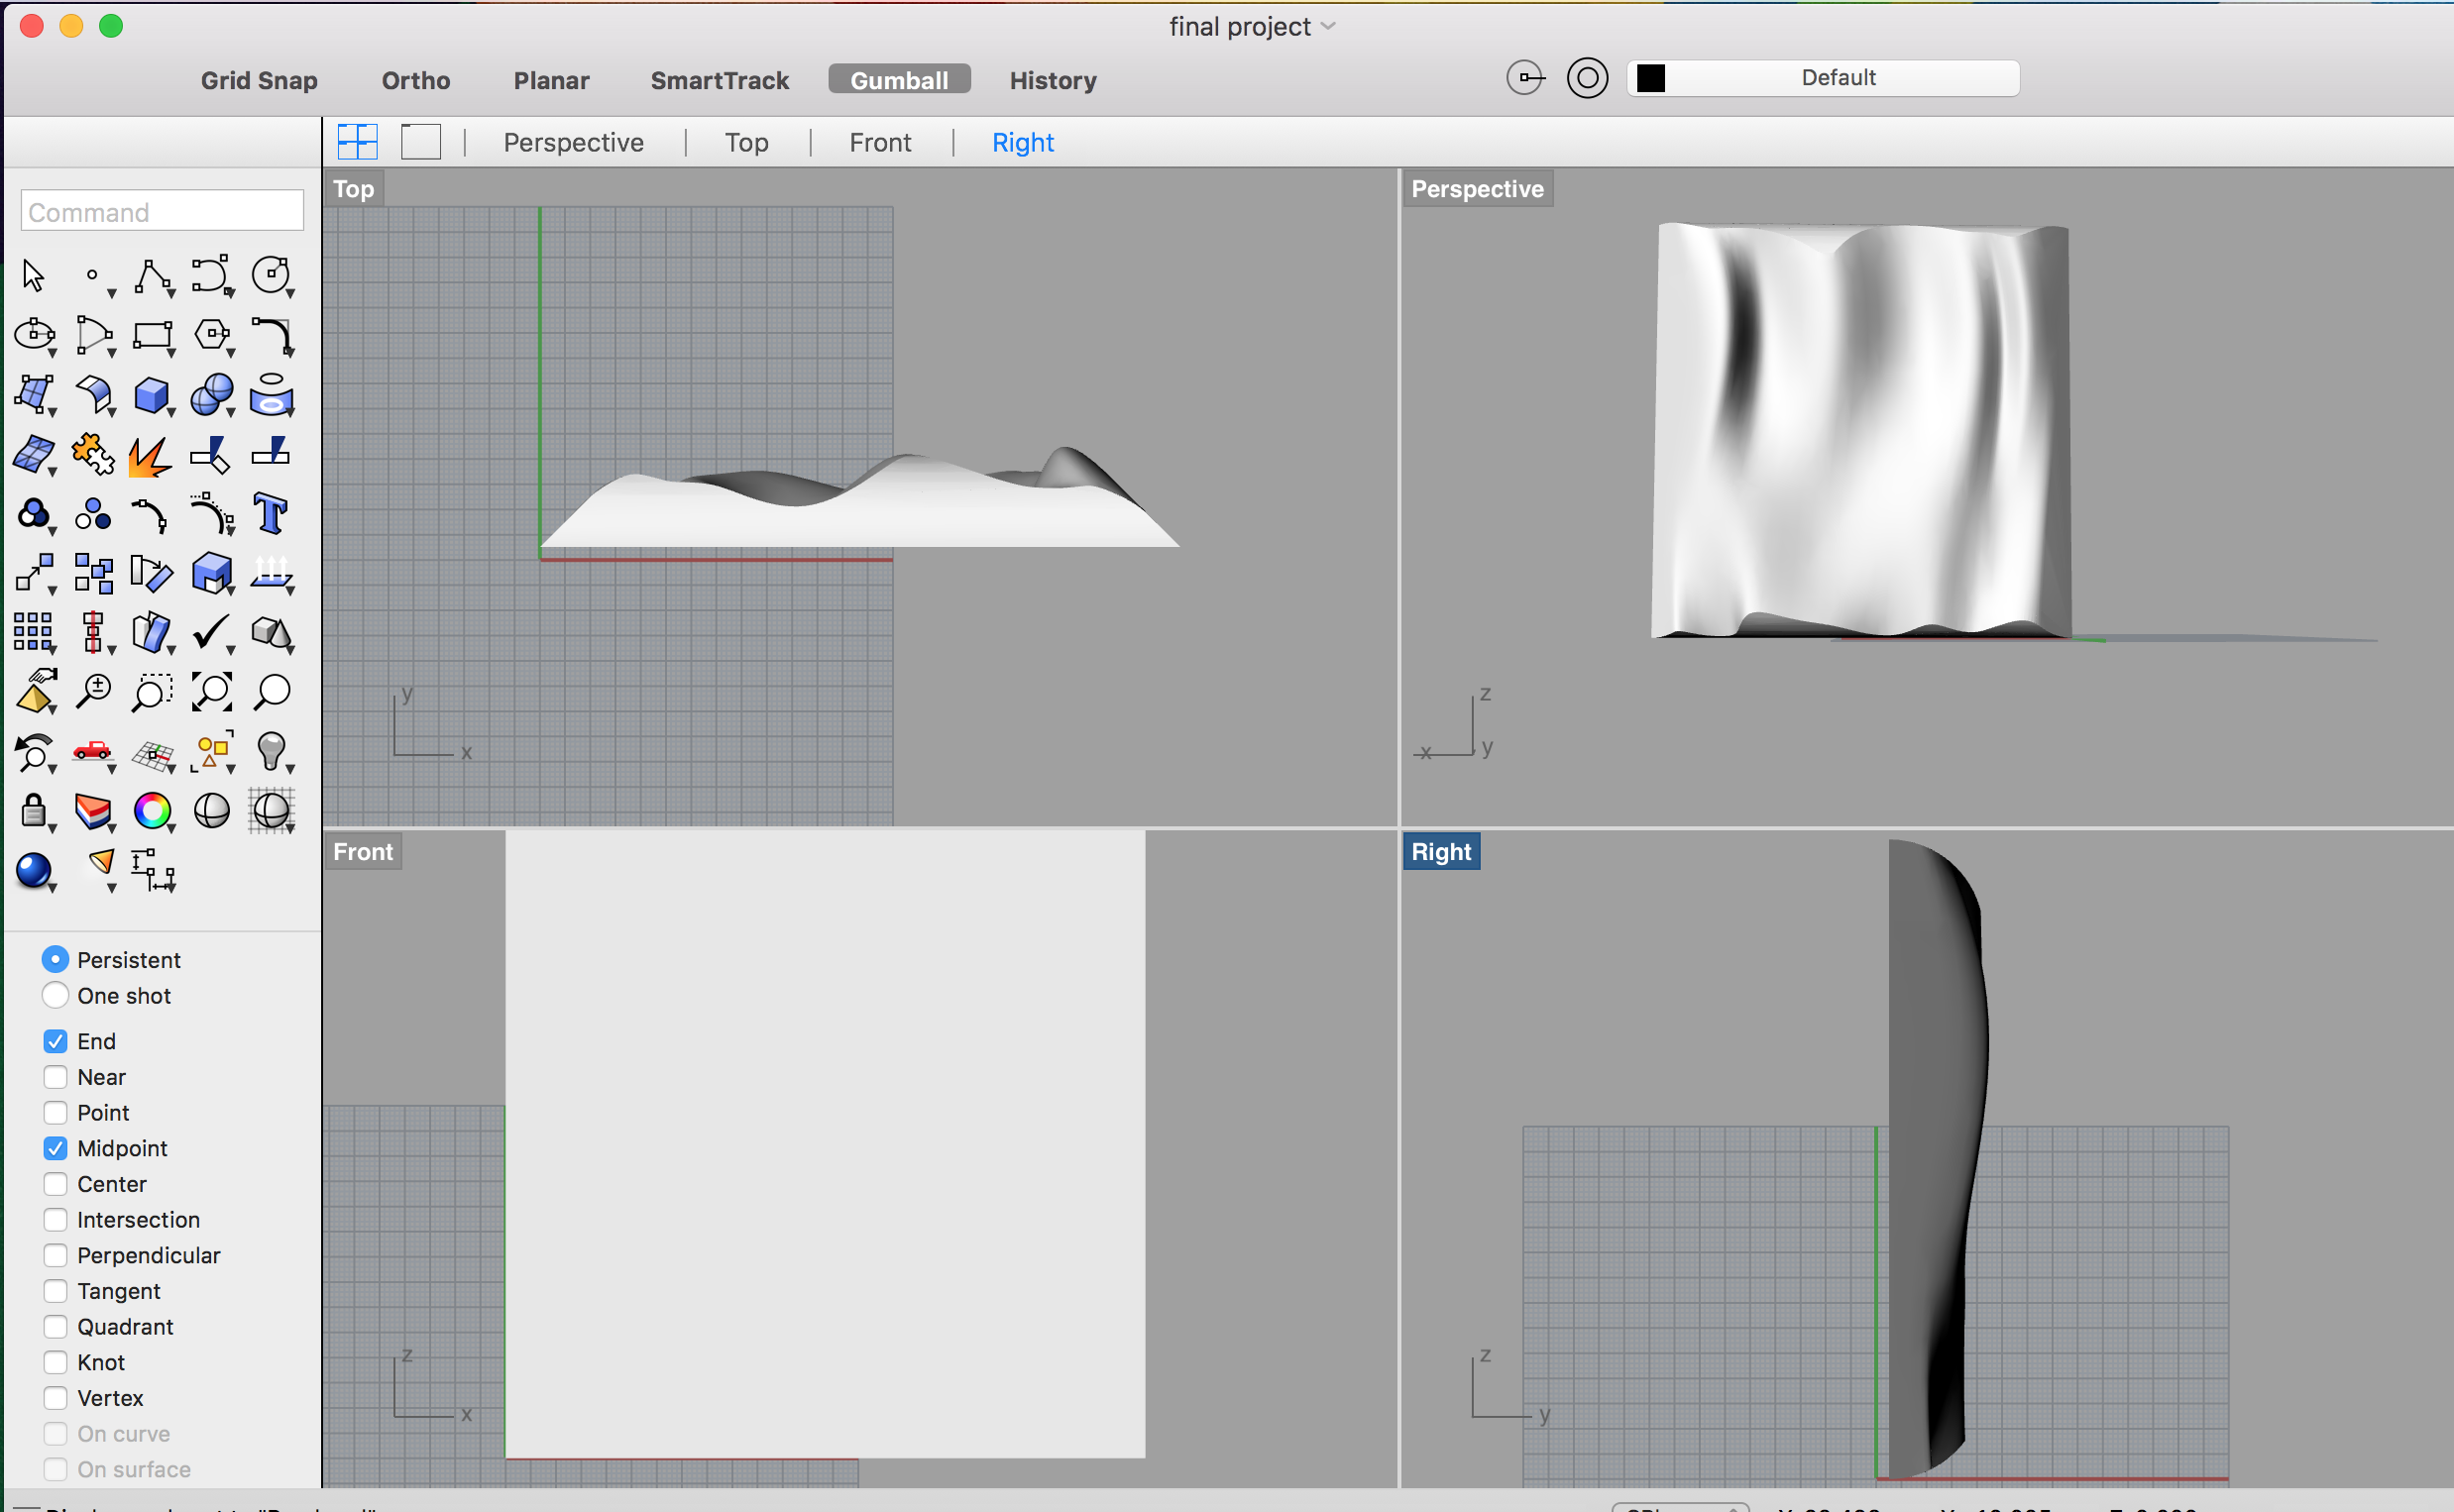
(1) 3D Modeling
Use Rhino to 3D model a surface. Note that all the sides have draft angles to make it easier to remove the plastic molds
(2) Printing mold
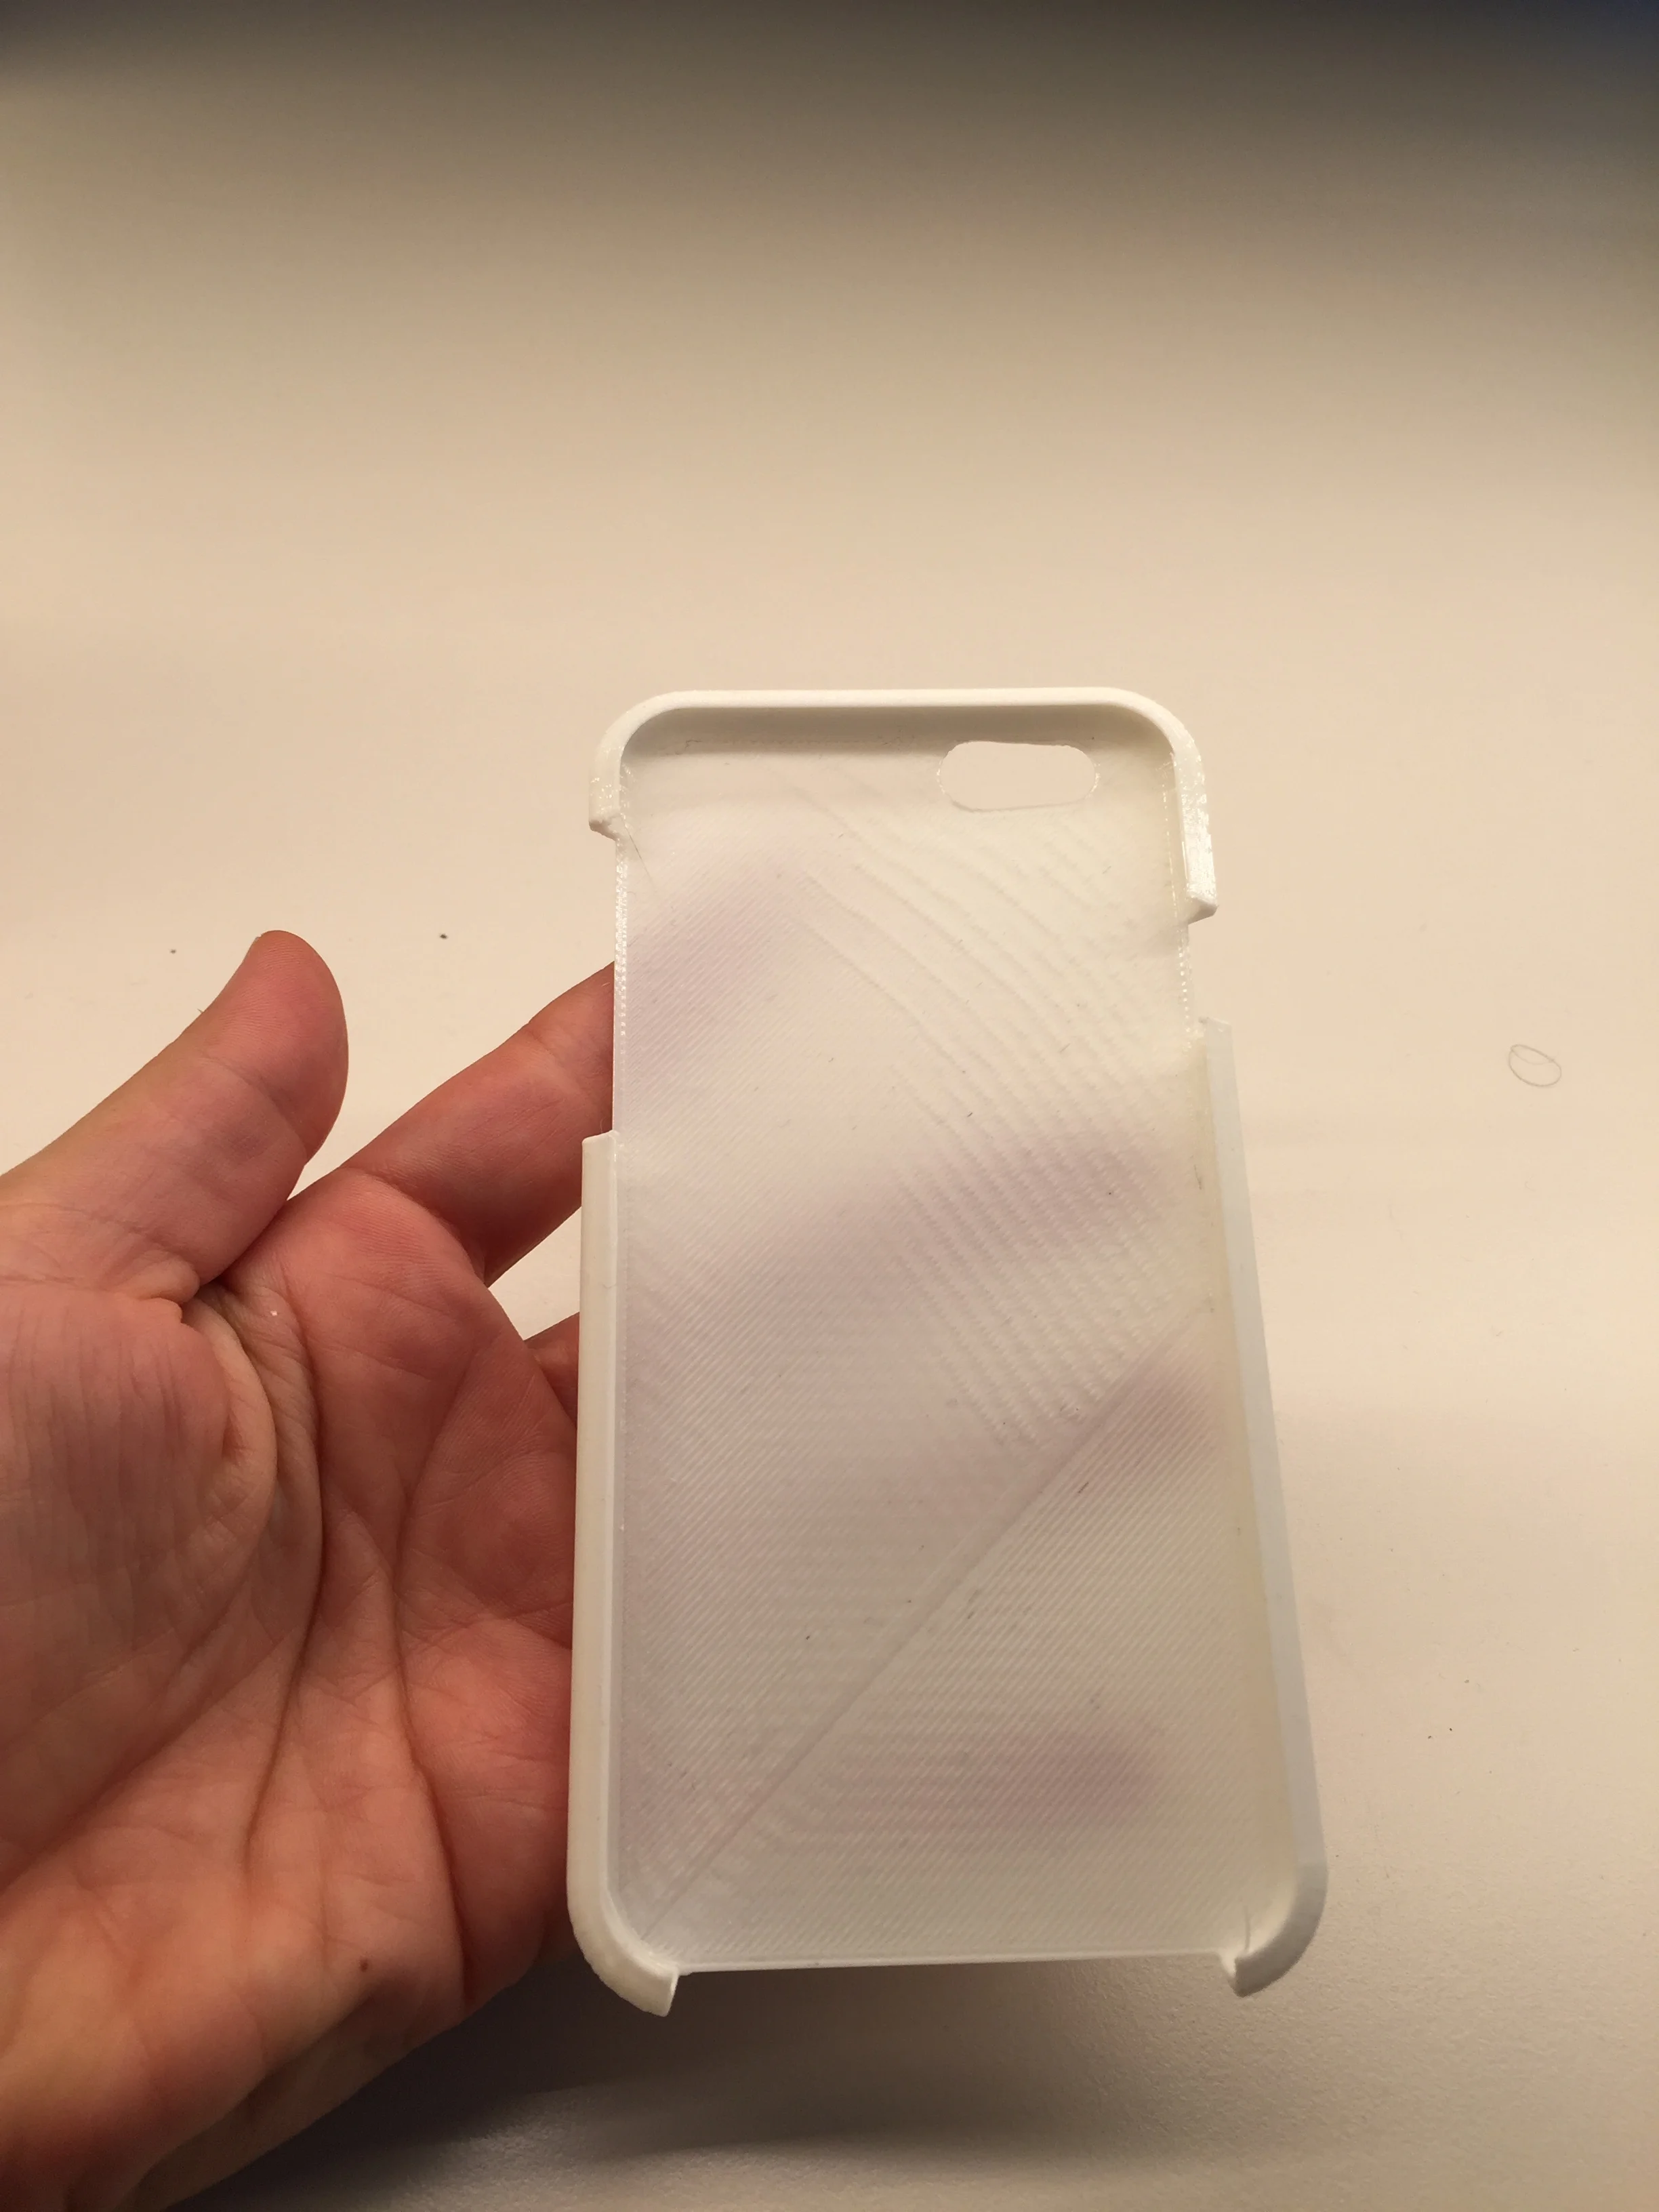
I then wanted to CNC the piece in wood, but I was told one of the issues with vacuum forming is that the mold can get stuck inside the plastic. So I realized that the Object 3D printer uses wax to cast and that the final pieces are very smooth. I thought this would be a great use of materials for vacuume forming.
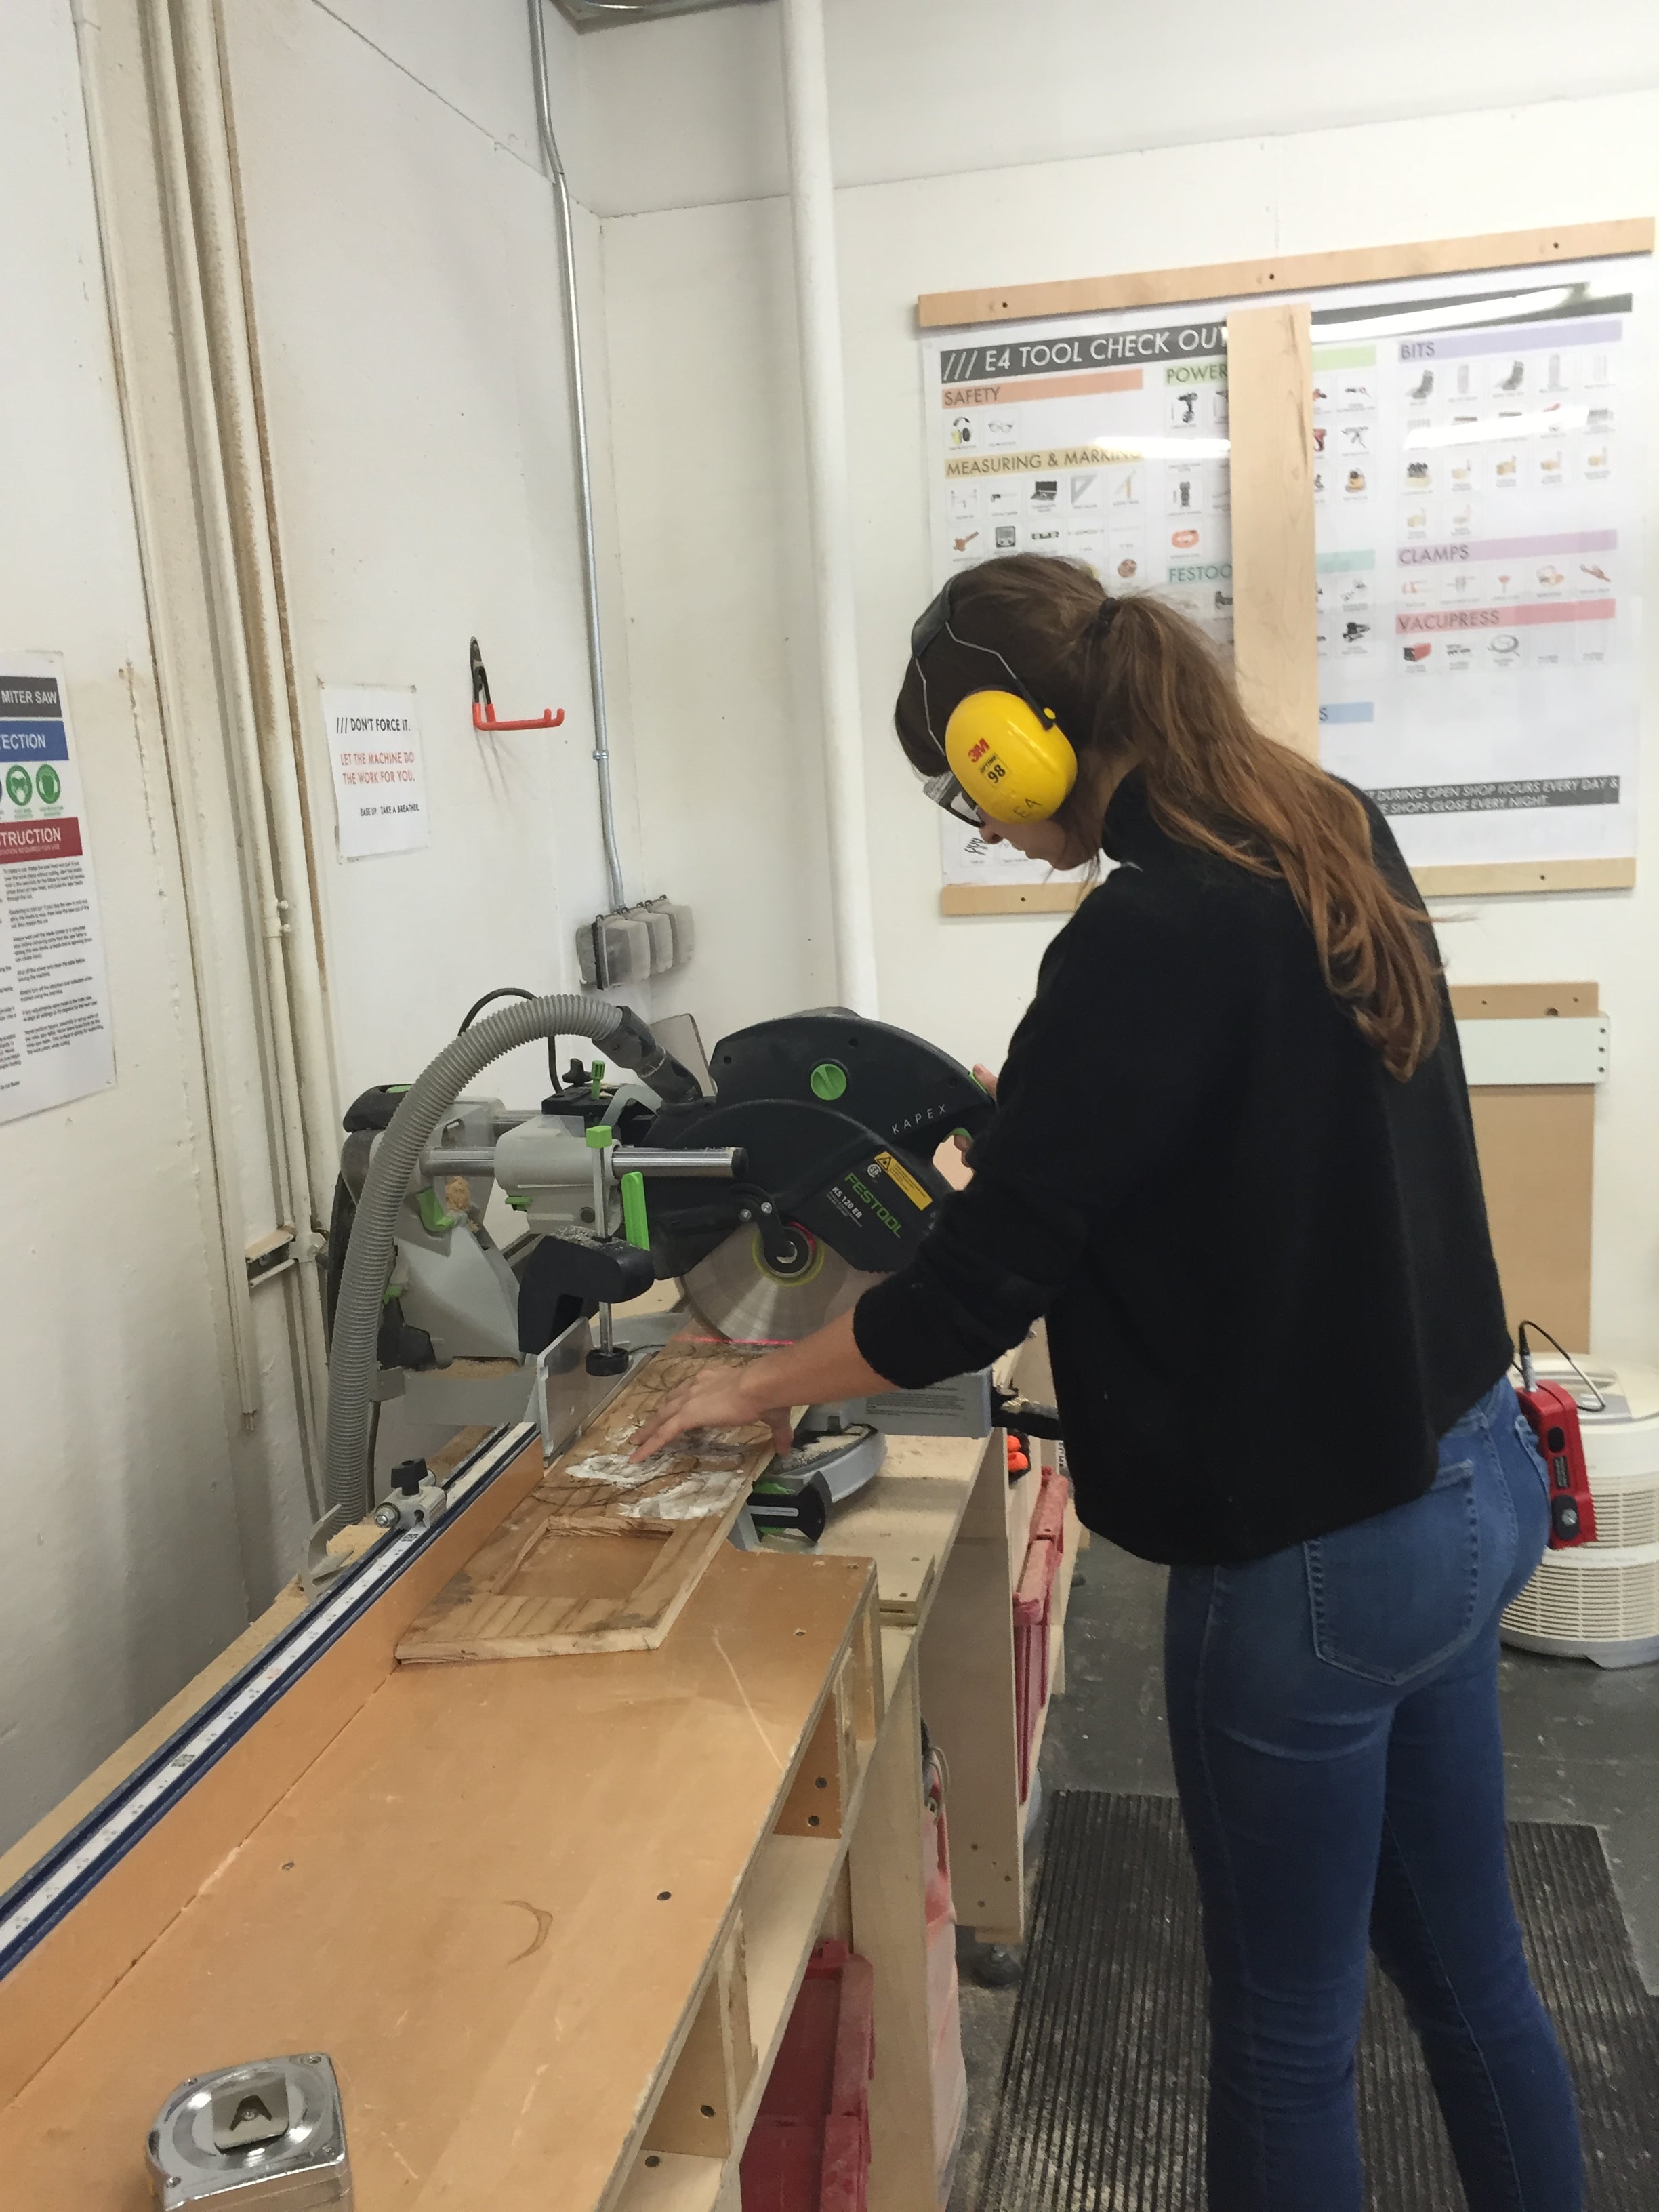
(3) Wood Base
I cut a wood base to use in the vacuum former. This is necessary because when you vacuum form, everything will get sucked up from the bed. If you have a base, you can then cut around your piece so that it looks cleaner and more professional.
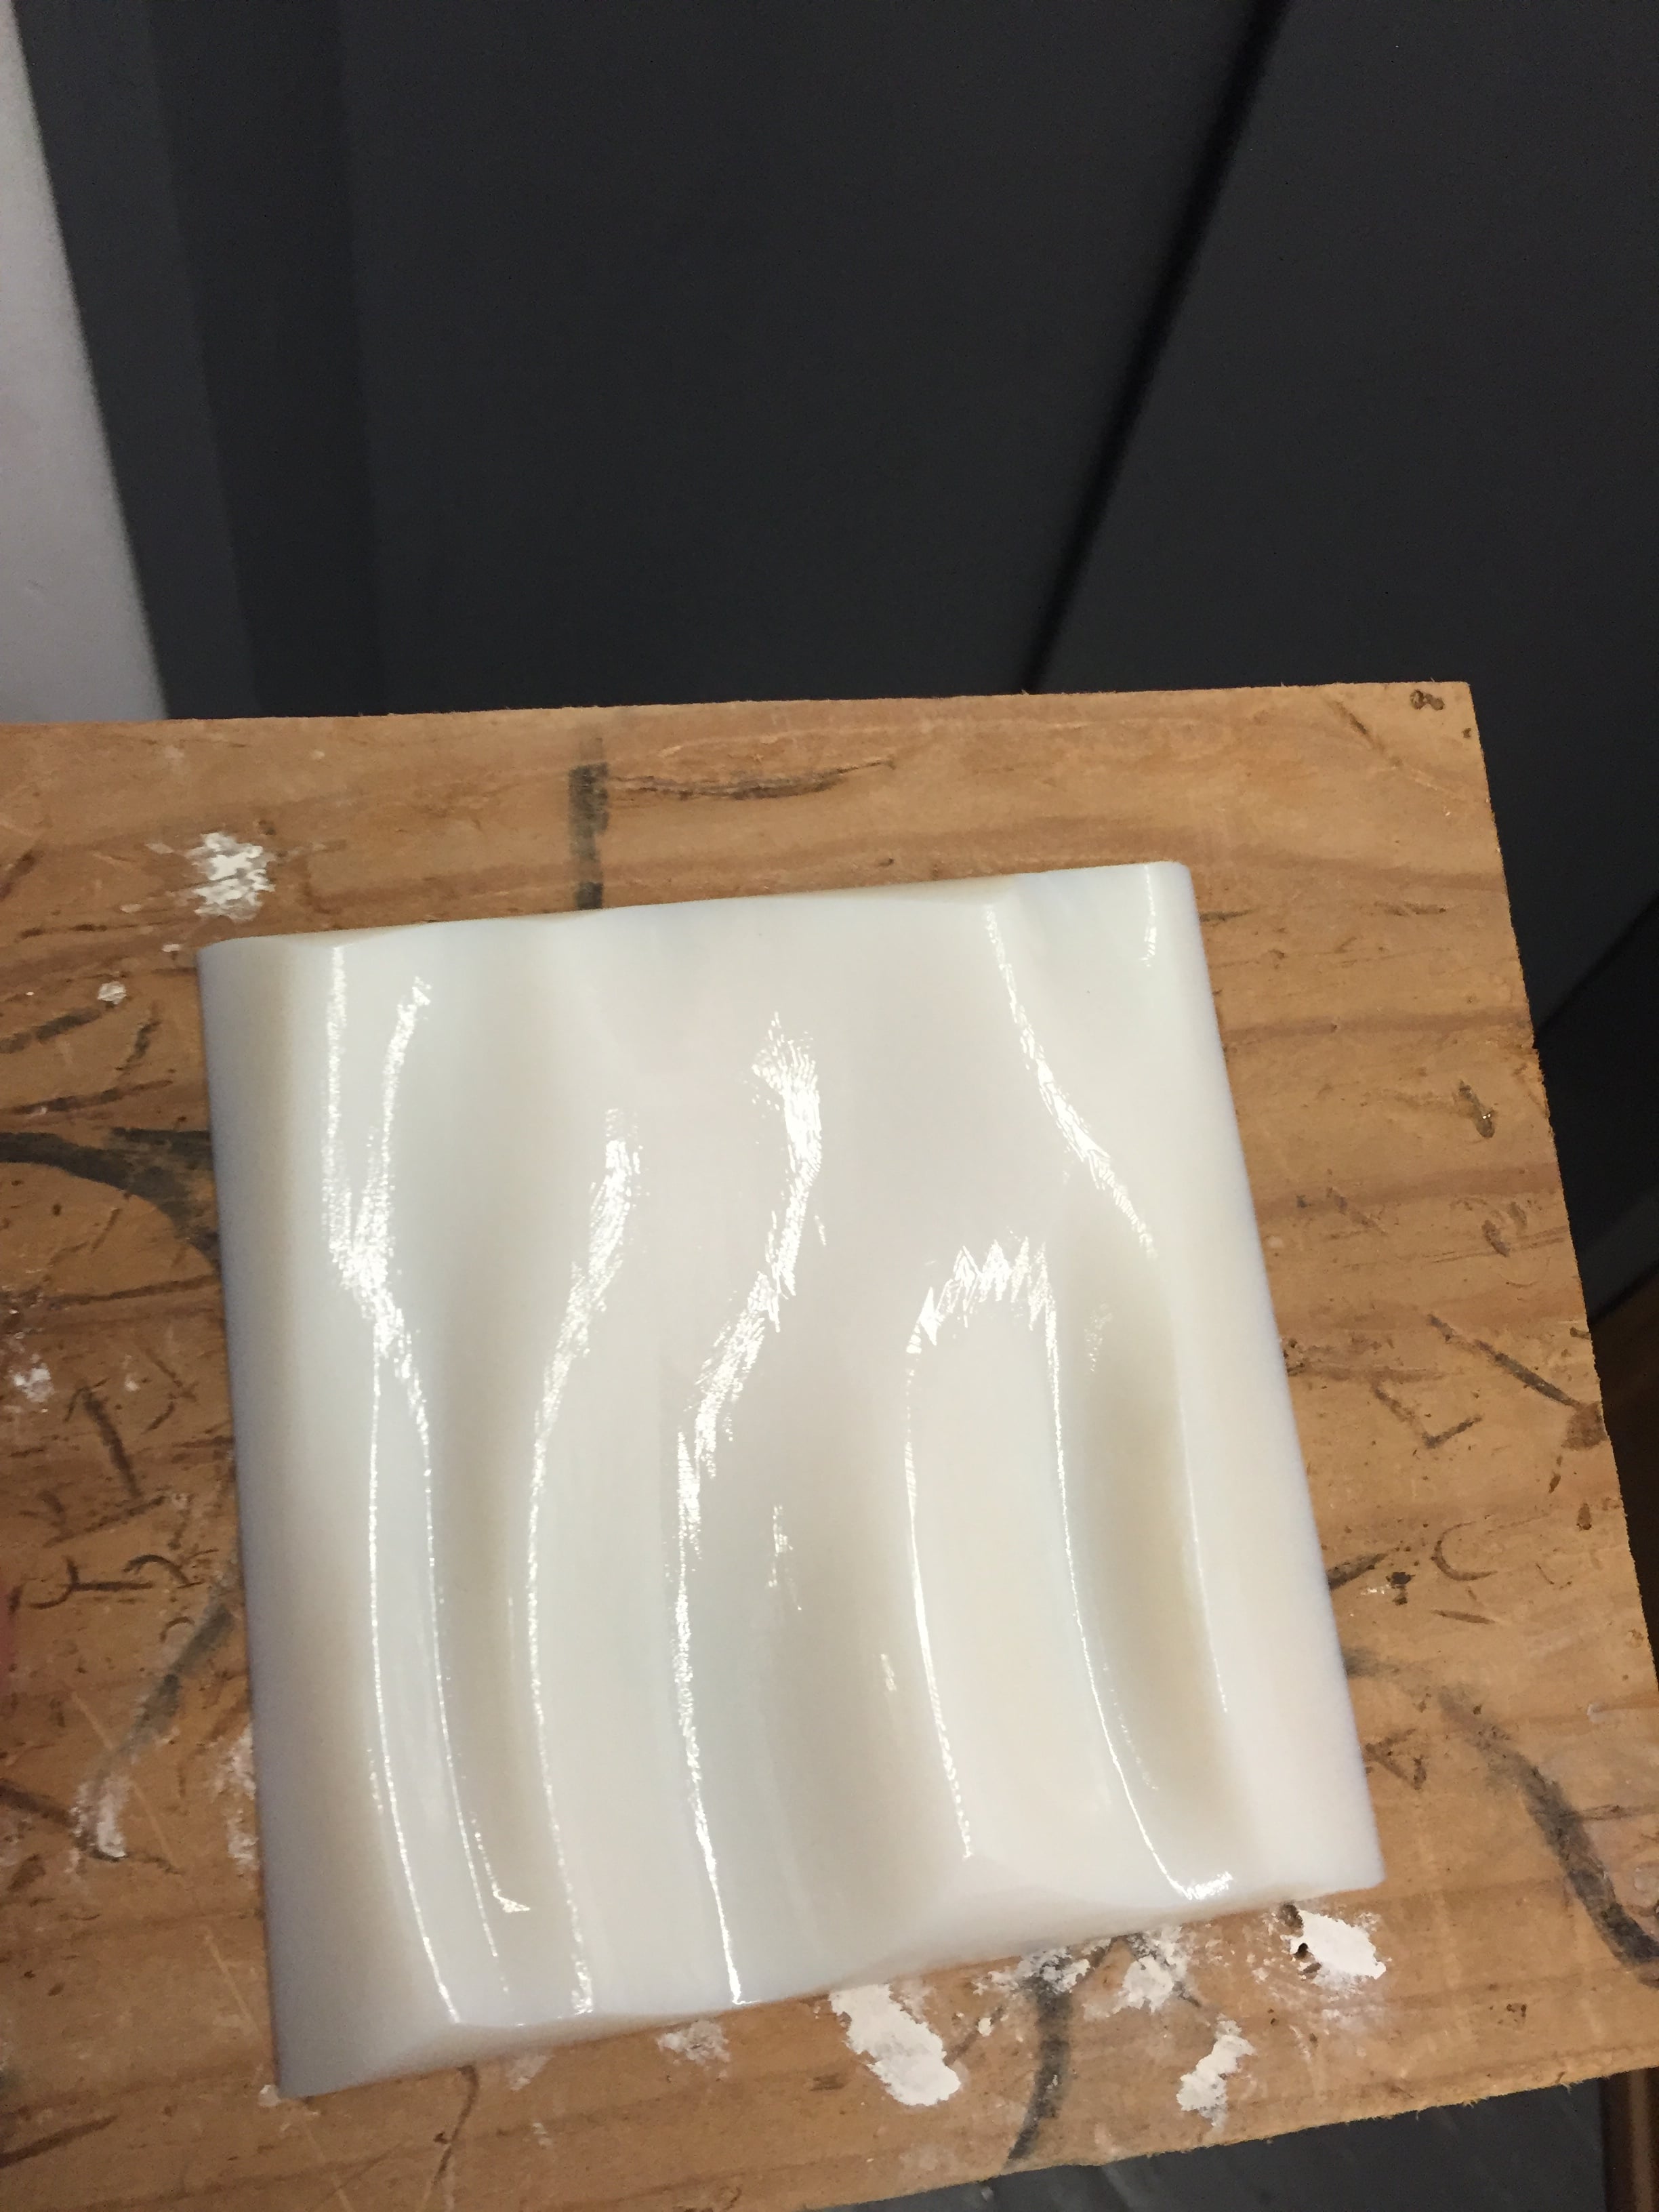
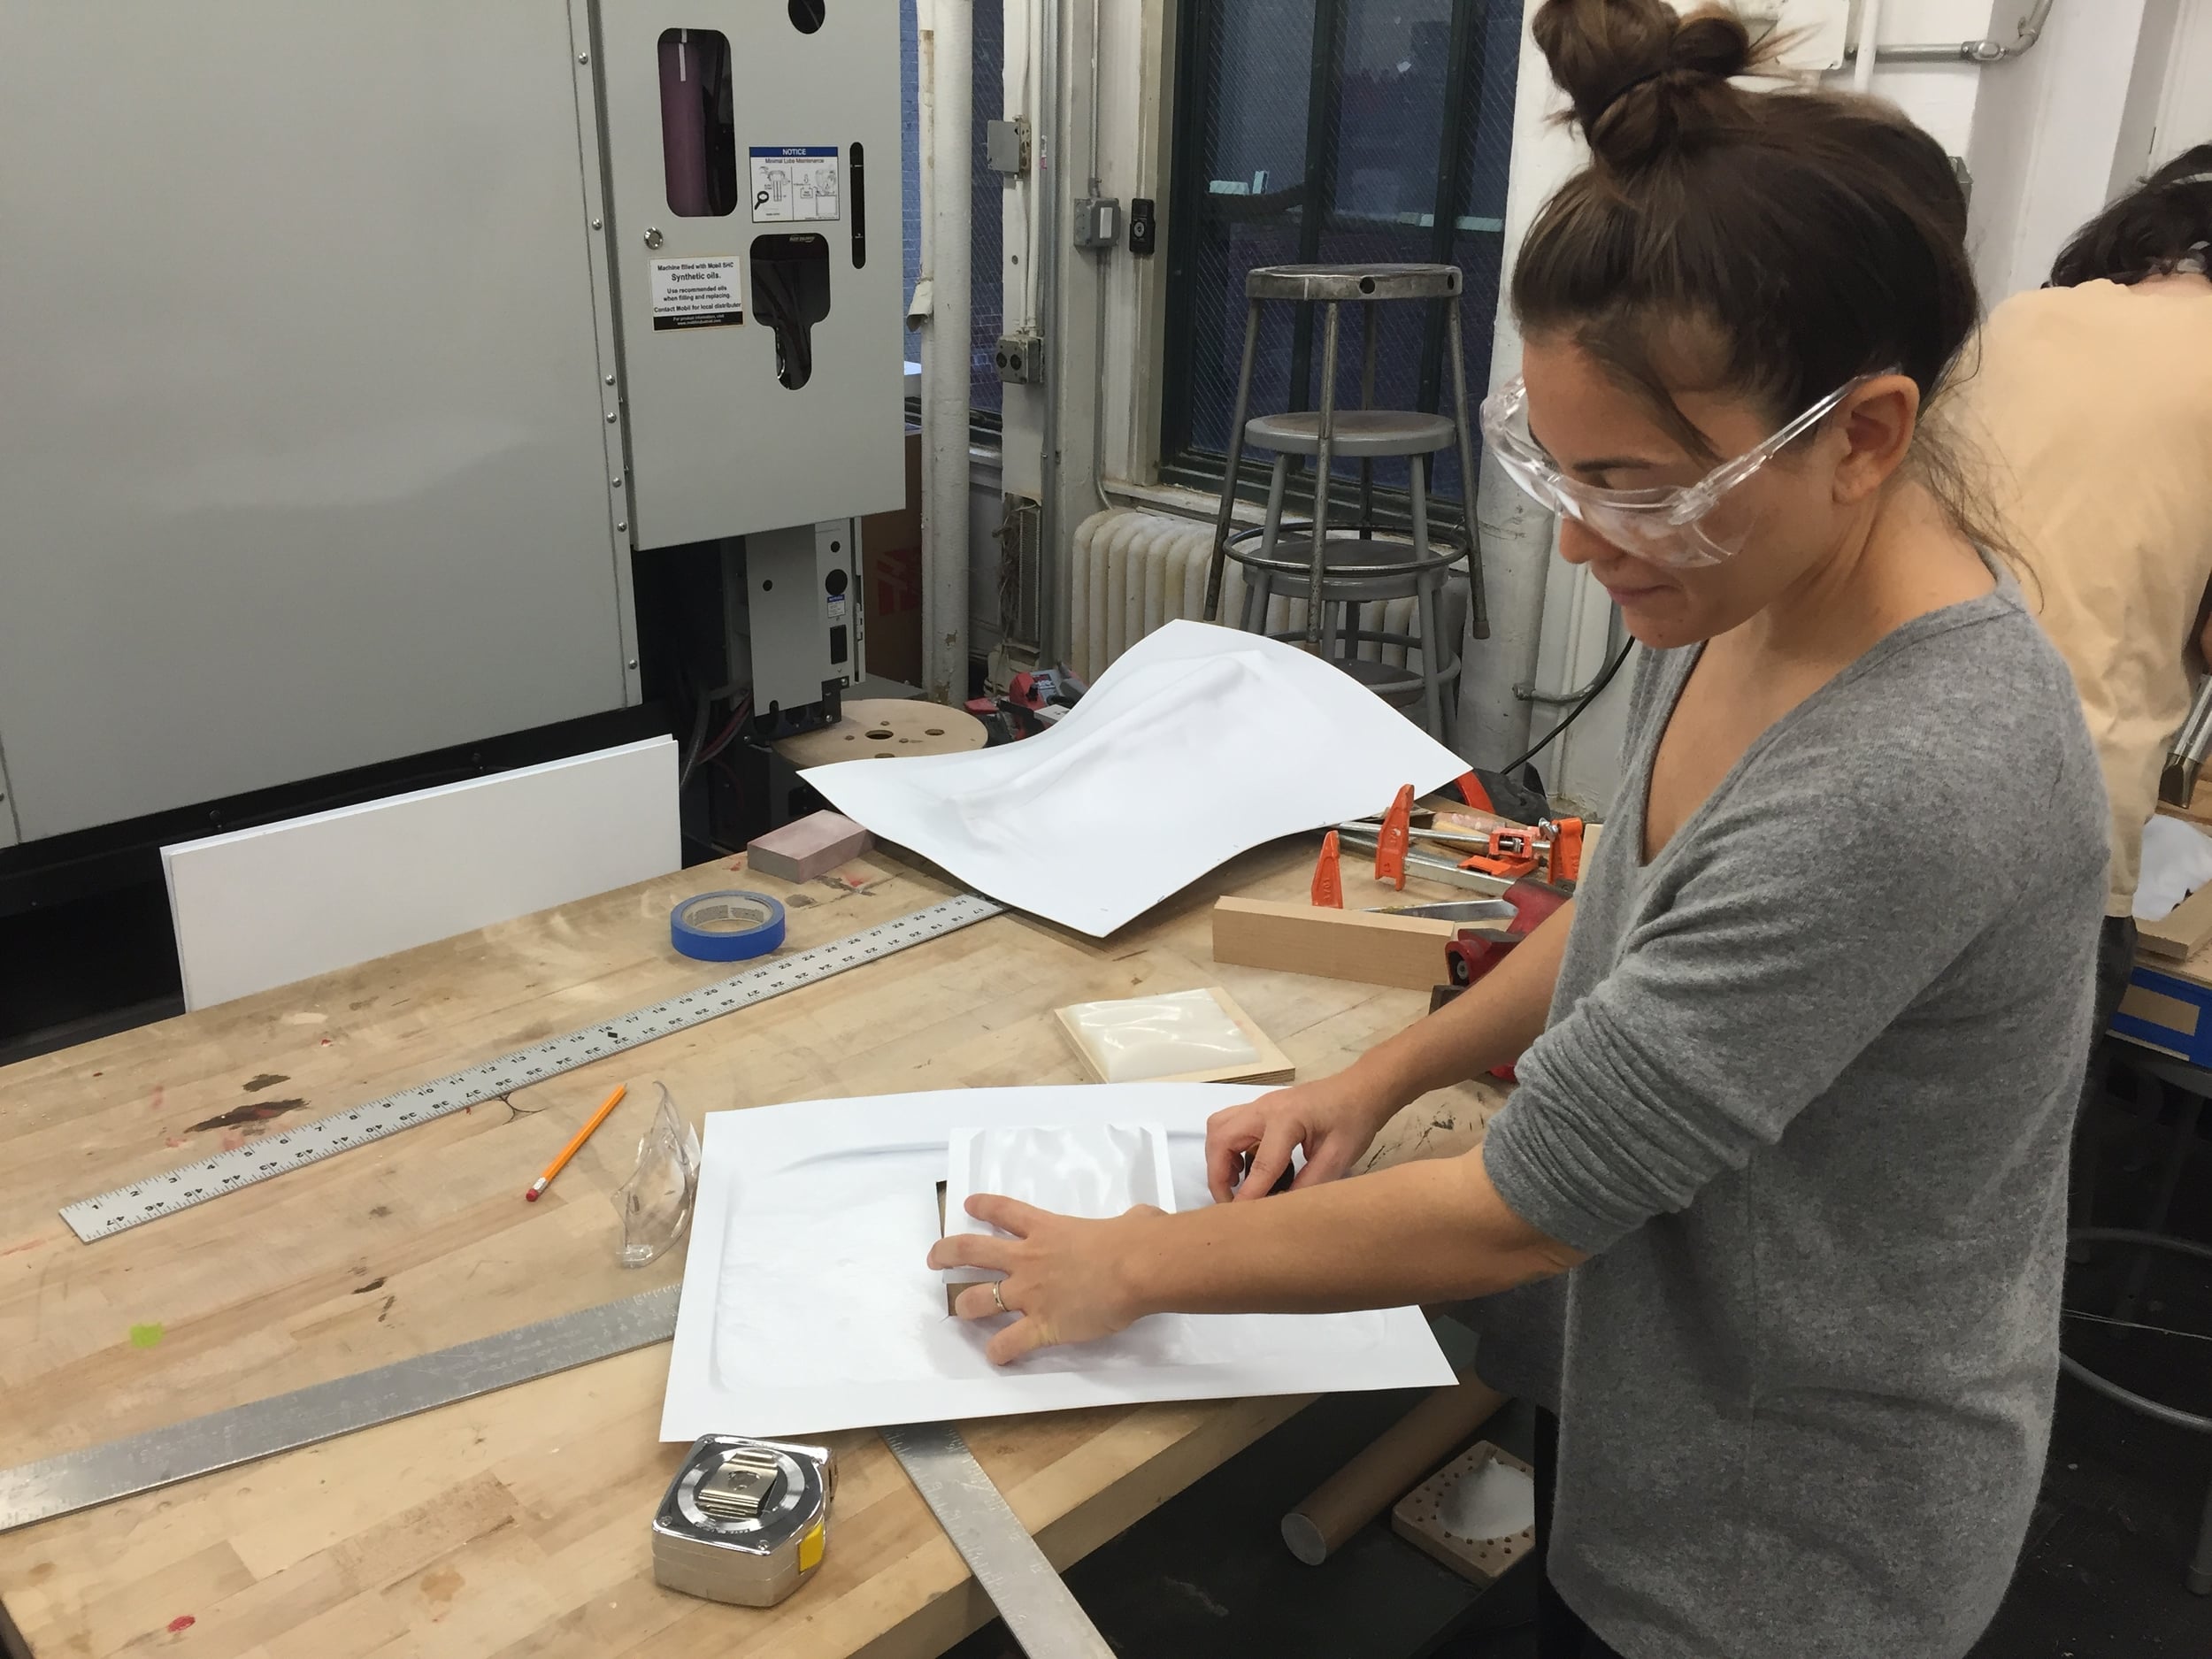
(4) Vacuum Forming:
It takes a few test runs on the vacuum former before you get a hang of how to do it. I ended up wasting a bit of material on these tests. So next time I would buy extra material to be sure there is enough. I also ended up using a timer to make sure that each piece came out the same. 40 seconds seemed to be the right amount of time. Also, because of the way the vacuum former works, you have to have a seal on the perimeter of your plastic with the rectangle of the machine. This means you end up wasting a lot of material, so this is something to keep in mind for next time.
I used an knife to cut out my pieces from the large sheets of plastic.

(5) Site testing
I took the pieces to two different sites to test how they could be arranged. Because they are modular, each time you can arrange them in a different way.
(6) Final
I took the pieces into the subway and hung them on the wall. I observed people watching and passing by.
Precedents:
(1)
PathoMap: http://www.pathomap.org/
PathoMap is a research project by Weill Cornell Medical College to study the microbiome and metagenome of the built environment of NYC.
(2)
http://stadium.dallascowboys.com/art/art_commissions.cfm?commision=isermann